A pouch that looks right when empty can bulge, fall over, waste cartons, or hide important artwork after filling.
I choose the right stand-up pouch size by testing the real filled product, confirming width, height, bottom gusset, headspace, zipper clearance, artwork safe zones, carton fit and shipping cost together.
I do not start from a size chart alone. I use the chart as a first guess, then I prove the size with a filled sample.
What Product Information Should I Measure First?
Most sizing mistakes begin when weight is treated as volume and the real product is never filled into a sample.
I measure fill weight, bulk density, product shape, oil or powder behavior, target shelf life, filling method and expected headspace before I choose pouch dimensions.
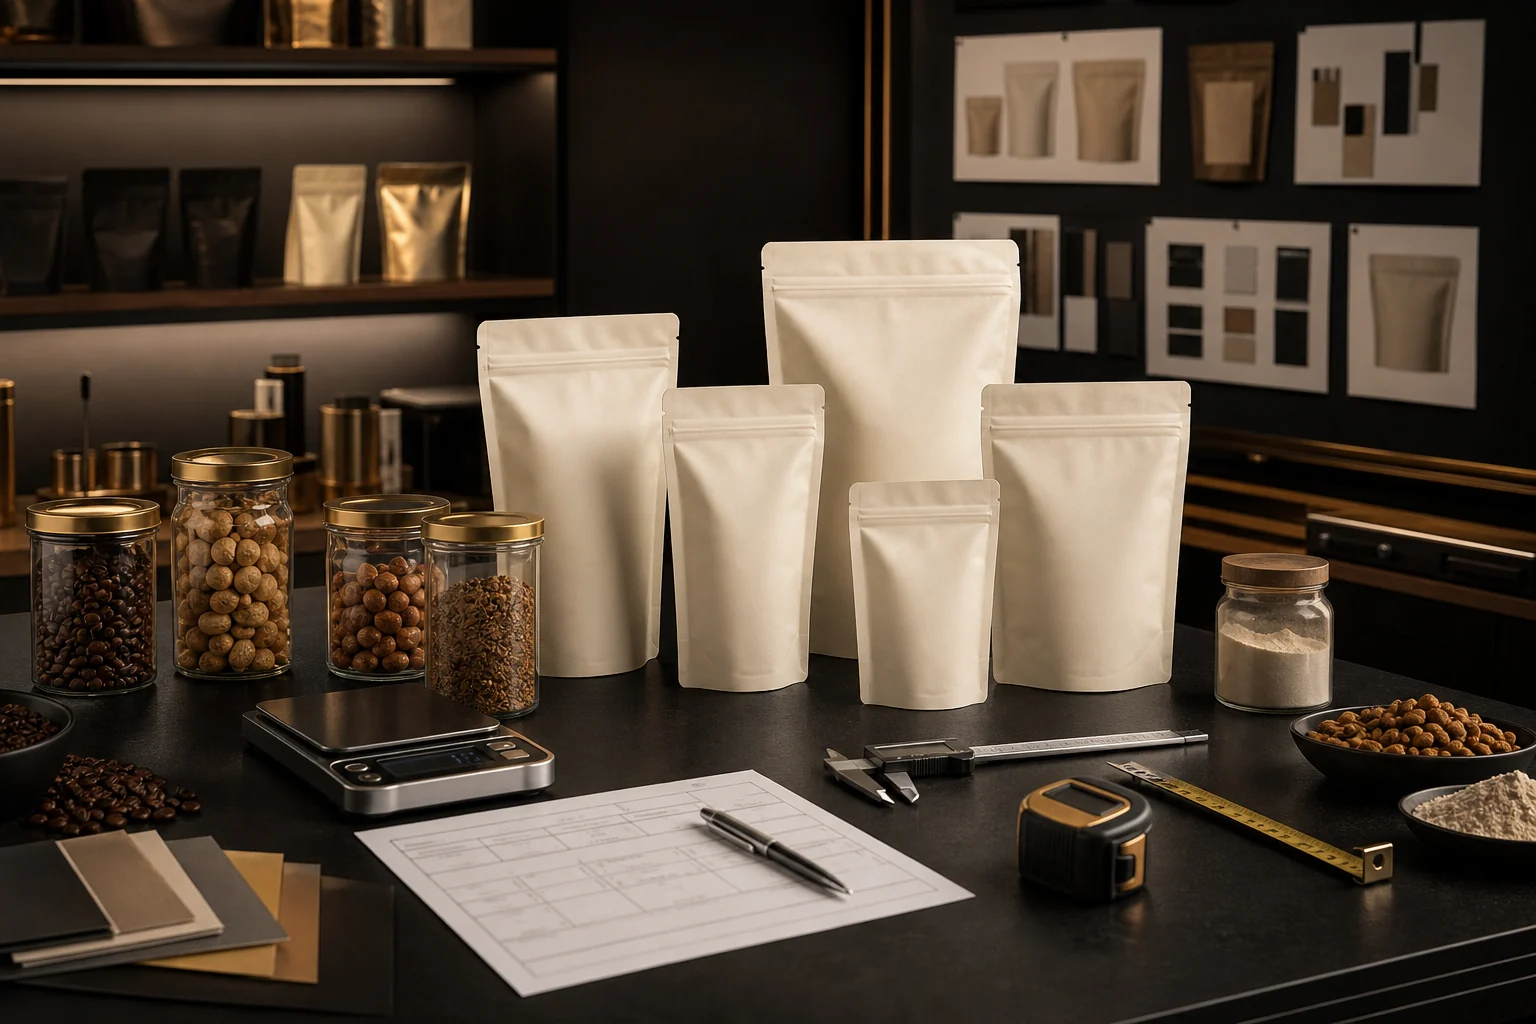
I start with the product in front of me. A 250 gram coffee bag, a 250 gram granola pouch and a 250 gram powder pouch do not need the same internal volume. Beans leave air gaps. Granola can bridge near the zipper. Powders settle after vibration. Pet treats can be sharp and irregular. If I only use net weight, I can approve a pouch that looks tidy on a dieline but becomes tight, unstable or half empty in real use.
I ask for a simple product profile before I compare sizes. I want the target fill weight, the product density, the largest particle, the expected fill temperature, oil level, moisture sensitivity and whether the pack is filled by hand, scale, auger, cup filler or form-fill-seal equipment. I also ask how much empty space the brand will accept visually. A premium food pouch may need a full-looking front panel. A powder pouch may need enough headspace to close cleanly.
I run a quick volume trial
I fill a measuring container with the product, tap it the same way the filling line or shipping route will affect it, and record the occupied volume. Then I fill a blank pouch close to the proposed size. I check whether the bottom gusset opens fully, whether the front panel curves too much and whether the zipper area stays clear. I also leave room for the top seal. If the product is food, I keep the material discussion tied to intended use and conditions, because FDA food-contact guidance depends on the actual food and use condition.1
How Do Width, Height and Bottom Gusset Change the Filled Shape?
A small dimension change can move the visual center, weaken shelf stability, or make the zipper hard to close.
I adjust width, height and bottom gusset as one system because they control volume, front-panel shape, standing stability, zipper clearance and case packing.
I treat the pouch as a three-dimensional package, not a flat rectangle. Width controls how broad the front panel appears and how the product spreads. Height controls shelf presence, information space and top seal clearance. Bottom gusset controls stand-up stability and a large part of the usable volume. When one dimension changes, the other two may need to move with it.
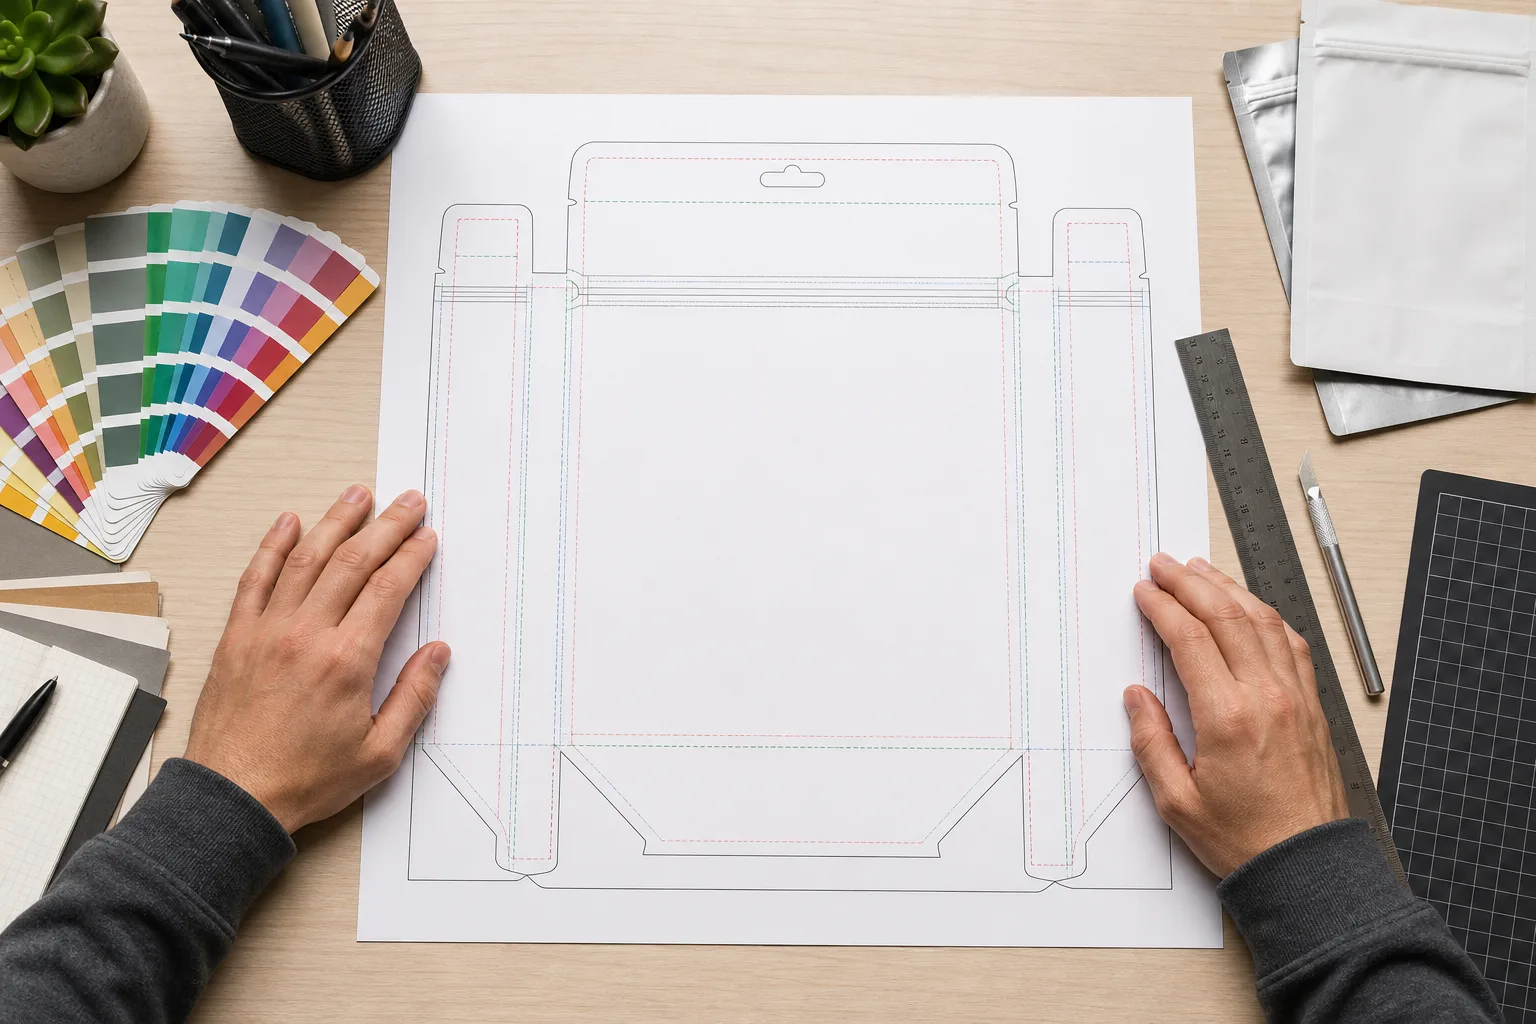
A narrow tall pouch may look premium in a mockup, but it can tip forward if the product settles high or if the bottom does not open evenly. A short wide pouch can stand well, but it may waste shelf frontage or make the brand block feel less elegant. A deeper gusset can increase volume, yet it can also push the front panel outward and distort artwork. This is why I avoid approving size from a flat dieline alone.
I compare filled samples side by side
I usually request two or three blank sizes around the first estimate. I fill each one to the target weight, close the zipper if there is one, and photograph the pouch from the shopper angle. I also check the back panel because nutrition facts, barcode and instructions need a surface that stays readable. GS1 barcode placement guidance warns that placement, smooth surface and quiet space affect scan performance, so I avoid barcode positions that cross folds, edges or curved stress areas.2
| Dimension | What it changes | What I verify |
|---|---|---|
| Width | Front panel spread and shelf block. | Product bulge, label readability and hand feel. |
| Height | Top seal, zipper access and information space. | Headspace, coding area and retail proportion. |
| Bottom gusset | Usable volume and standing stability. | Gusset opening, tipping risk and carton fit. |
How Much Headspace Should a Stand-Up Pouch Have?
Too little headspace causes messy seals, while too much makes the pouch look underfilled and expensive to ship.
I leave enough headspace for filling variation, zipper clearance, top sealing, date coding and product settling, then I check whether the filled pouch still looks intentional.
Headspace is not wasted space when it has a job. The filling process needs tolerance. A zipper needs room above the product so it can close without crumbs, powder or oily pieces sitting in the track. The top seal needs a clean area. Some products settle after vibration. Some products release gas or trap air during filling. If I remove all headspace to make the pack look full, I can create seal contamination and consumer frustration.
I set a practical target. For dry snacks and pet treats, I want the product below the zipper and away from the heat-seal area after normal handling. For coffee, I also think about degassing, valve position and whether the bag will be packed soon after roasting. For powders, I consider dust. A powder can migrate upward during filling and contaminate the seal if the pouch is too short or the filling speed is too aggressive.
I check the close-and-seal sequence
I fill the pouch, tap it, close the zipper, open it again, and inspect the track. Then I simulate the top seal area. If date coding is needed, I reserve a clean and visible area that does not sit on a crease. I also ask where the tear notch, hang hole or laser score will sit. These details should be planned before artwork approval, because moving one feature later can force a new size or dieline.
For regulated or food-contact projects, I also avoid treating a blank pouch as proof. The final material, feature, filling condition and product contact all matter. FDA information for consumers explains that food-contact substances used in packaging are assessed around their intended use, so I keep the final use condition in the same file as the pouch size decision.3
How Do Carton Fit and Shipping Cost Affect Pouch Size?
A pouch can pass the shelf test and still fail when carton space, compression or dimensional weight makes shipping inefficient.
I confirm carton count, case dimensions, stack direction, compression risk and dimensional weight before I approve the final pouch size.
I do not finish pouch sizing until I test the shipping case. A pouch that looks perfect alone may waste carton space. It may also press the zipper into the front panel, flatten the gusset or rub the printed surface. If the product is sold through ecommerce, the filled pouch may face drops, vibration and compression before the shopper sees it. The pouch and the outer carton need to work together.
I pack a small case trial. I decide whether the pouch should stand upright, lie flat or alternate direction. I check how many units fit without forcing the seals. I also check whether the carton becomes too large for the actual product weight. UPS explains dimensional weight as a way to account for the space a package occupies compared with actual weight, and it can affect billable weight for package services.4 That matters when lightweight products use oversized pouches.
I connect size approval to distribution testing
For higher-risk shipments, I ask for a simple drop, vibration or transport simulation plan. ISTA describes its tests as tools for screening or simulating distribution hazards, and the ISTA 3A overview notes that package and product are considered together rather than separately.5 That idea is useful even when a brand does not run a formal laboratory test. I still need to see how the filled pouch behaves in the case.
My final approval record includes the pouch width, height, gusset, material, zipper or feature position, fill weight, target headspace, carton count and carton dimensions. This keeps purchasing, artwork, production and logistics aligned.
Conclusion
I choose packaging through evidence, filled-pack testing, and clear specifications. That process protects the product, the launch, and the customer experience.
Sources and Further Reading
Need a pouch specification?
I can review your product, size, quantity, artwork, and target market.