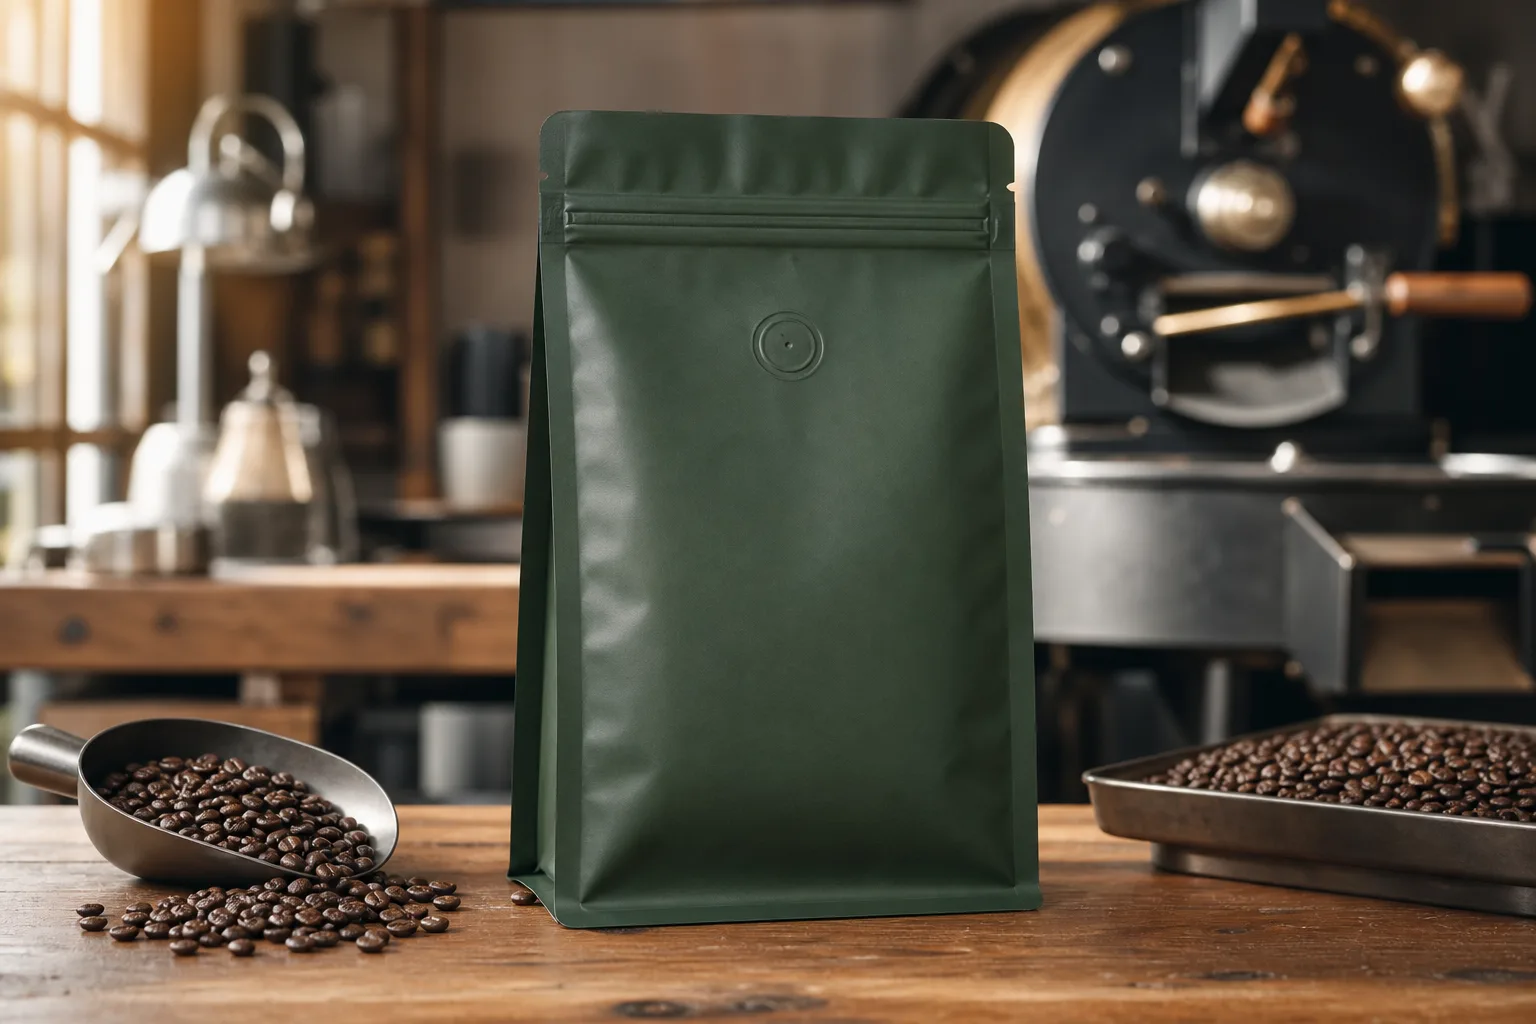
A beautiful coffee bag can still fail when aroma fades, seals leak, or fresh beans make the pack swell.
I design a reliable coffee bag by matching barrier, valve, sealant, zipper, format, and fill process to the roast, shelf-life target, and sales channel.
I use function as the starting point. I add visual decisions only after the pack can protect the coffee and move through production without surprises.
Which Coffee Bag Format Should I Choose?
The wrong format can waste shelf space, slow filling, and make a premium roast look ordinary.
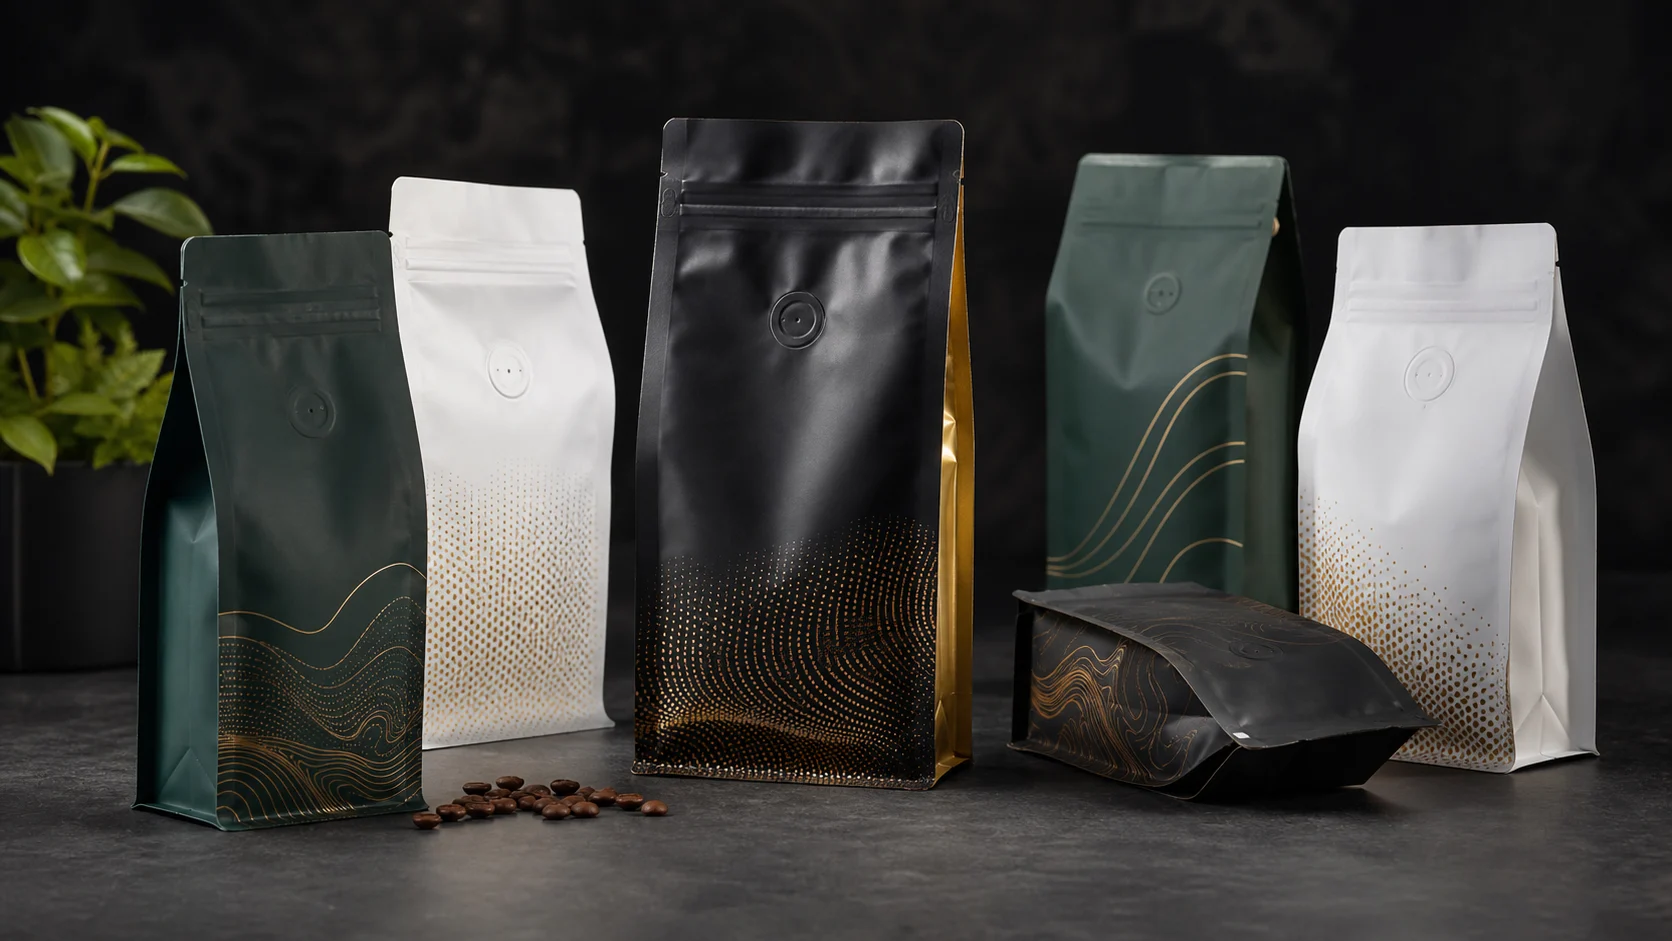
I choose stand-up, flat-bottom, or side-gusset formats by fill weight, shelf plan, filling method, shipping case, and the brand position I need to express.
I start with the filled product, not an empty pouch sample. Coffee density changes with roast level and grind. The same 250 grams can need a different internal volume when I move from dense light-roast beans to a darker, more developed roast. I ask for a real fill test before I approve width, height, and bottom gusset. That test also shows whether the zipper has enough headspace and whether the top seal stays clear of coffee dust.
I compare structure and shelf behavior
A stand-up pouch is efficient for small retail sizes and broad product ranges. A flat-bottom bag uses five printable panels and creates a stable, premium block on shelf. A side-gusset bag has a traditional coffee look and works well for larger weights, but it may need a tin tie or a separate closure plan. I also check the shipping carton. A bag that looks perfect alone can bow, rub, or waste case volume when many filled packs travel together.
| Format | I use it when | I verify first |
|---|---|---|
| Stand-up pouch | I need an efficient range with a front-facing display. | Gusset opening and zipper headspace. |
| Flat-bottom bag | I want strong shelf stability and premium panels. | Corner seals, side zipper, and case fit. |
| Side-gusset bag | I want a classic coffee profile or larger fill. | Closure method and front-panel distortion. |
I request a blank sample in the proposed size. I fill it, close it, stack it, and photograph it from the shopper's viewing angle. This simple step gives me better decisions than a flat dieline alone. I can then send a clearer specification through the custom packaging inquiry.
Does Every Coffee Bag Need a Degassing Valve?
Fresh coffee keeps releasing gas, and a sealed bag can inflate when that pressure has nowhere to go.
I use a one-way degassing valve for freshly roasted whole beans when carbon dioxide release is expected, but I confirm timing, roast, pack size, and distribution first.
I treat the valve as a functional component, not a decorative badge. Freshly roasted coffee releases carbon dioxide for days. A one-way valve lets internal gas escape while it limits outside oxygen from entering. This balance can reduce swelling and lets a roaster pack earlier. The valve does not replace a good barrier or a sound seal. It also does not make an opened bag fresh forever.
I define the packing timeline
I ask how many hours or days pass between roasting and sealing. I also ask whether the product is whole bean or ground, because ground coffee releases gas more quickly. Darker roasts often release more gas than lighter roasts. The answer affects valve flow, pack headspace, and the amount of pressure the finished bag may see. Technical valve suppliers describe the component as a pressure-sensitive pathway for gas release.1
I also choose valve position with the artwork and filling line. The valve should sit above the normal product level. It should avoid zipper tracks, critical graphics, and high-stress folds. I ask the converter to confirm valve application consistency and leak testing. I test filled bags after realistic storage, handling, and altitude changes when the route makes those conditions relevant.
I skip the valve only when product behavior and packing timing support that choice. Pre-degassed coffee, some ground formats, and very short local distribution may use another plan. I still validate shelf life. I never assume that a valve automatically means premium quality. The Specialty Coffee Association has also studied how packaging shape, color, texture, and imagery affect flavor perception, so I align the functional decision with the sensory promise.2
How Much Barrier Does Roasted Coffee Need?
Oxygen, moisture, and light can flatten a coffee profile before the customer reaches the best part of the bag.
I specify barrier from measured shelf-life needs, storage conditions, roast sensitivity, and distribution time, then I validate the complete pouch rather than one film layer.
I ask for oxygen transmission rate and water vapor transmission rate targets, but I do not choose a laminate from one number alone. The finished pouch includes seals, folds, zipper, valve, and print layers. Each part can affect performance. A high-barrier film cannot rescue a weak top seal. A foil layer can provide excellent light and gas protection, but it can also add stiffness and limit visibility. A metallized layer can balance barrier and cost. A clear barrier can show the product, but it needs a careful light-exposure decision.
I connect material to real use
I share the coffee type, target shelf life, storage temperature, shipping route, and expected time after opening. I also identify the filling temperature and sealing equipment. The sealant layer must close consistently through normal coffee dust and production variation. I request seal-strength and leak-test evidence from the proposed structure. I then run a filled-pack trial under the conditions that matter to my business.
For food-contact packaging, I ask for documents that fit the intended food and conditions of use. The United States Food and Drug Administration explains that food-contact substance status depends on the intended use and applicable authorization.3 I do not treat a generic statement as proof for every product or market. I keep the material declaration, specification, and approval sample with the order record.
I also plan the end of use honestly. A complex laminate can protect coffee very well, but local recycling systems may not accept it. A mono-material direction can improve compatibility in some systems, but it still has to meet barrier and sealing needs. I make the trade-off visible instead of hiding it behind a broad claim.
How Should I Prepare Coffee Bag Artwork?
A strong identity can lose impact when folds swallow text, valves cover claims, or barcodes sit across a seal.
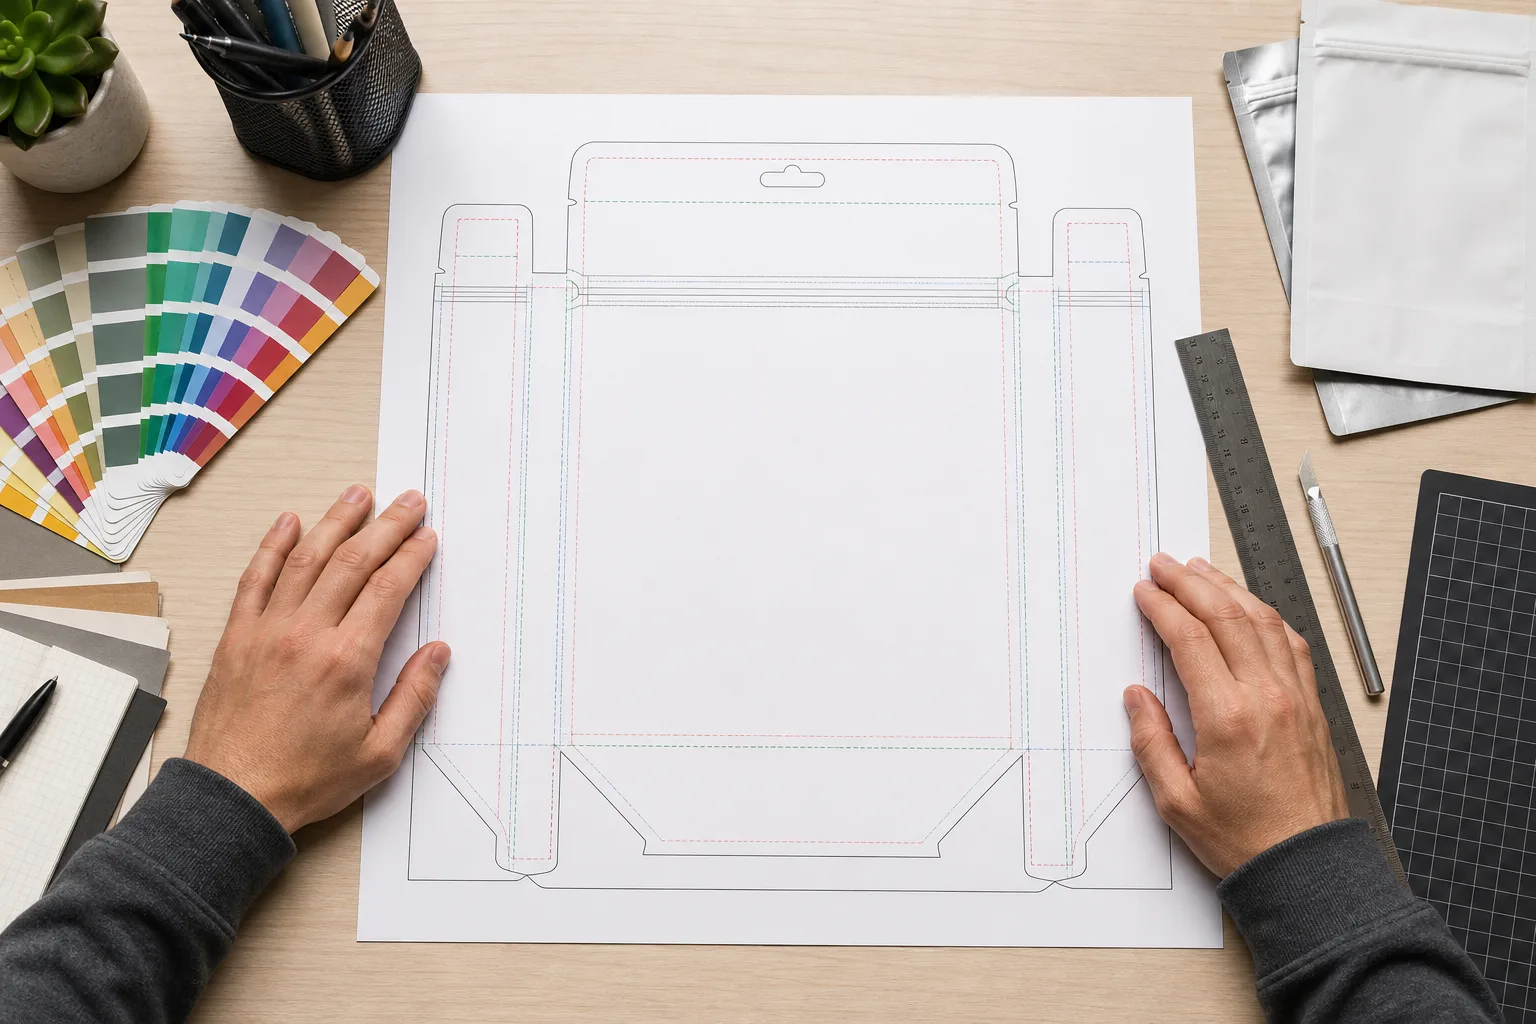
I build artwork on the approved production dieline, protect safe zones, reserve coding space, and test the filled bag before I approve color and finish.
I wait for the final size, zipper, valve, and seal layout before I finish artwork. I keep the brand mark, product name, net weight, and required copy away from folds and seal zones. I treat side panels as real communication space, but I expect some distortion after filling. I place small legal text where the surface stays readable and where local rules allow it.
I design for print and scanning
I use vector elements for logos and type where possible. I supply high-resolution linked images, outlined fonts, and clear spot-color instructions. I mark white ink, windows, metallic areas, and matte or gloss zones. I keep a quiet production-code area with enough contrast for the selected coding method. GS1 notes that barcode dimensions and placement depend on the scanning environment, printing process, and packaging form, and that folds and edges can reduce performance.4 I ask a barcode specialist or local GS1 office to check the final symbol.
I review a digital proof for content, but I use a physical proof or approved sample when color is critical. Flexible film color changes with substrate, white ink, finish, and the product behind a window. I compare the proof under controlled light. I also fill the sample. The bag becomes three-dimensional, and that change can move the visual center.
I finish with a preflight list. I confirm dieline version, dimensions, copy, colors, barcode, valve mark, zipper position, tear notch, finish, and coding area. I use the custom printing service page to align these choices with production before I release the order.
Conclusion
I choose packaging through evidence, filled-pack testing, and clear specifications. That process protects the product, the launch, and the customer experience.
Sources and Further Reading
Need a pouch specification?
I can review your product, size, quantity, artwork, and target market.