A beautiful pouch design can fail at print when it starts on the wrong template, hides key text in a seal zone, or ignores converting movement.
I prepare a custom pouch dieline by using the converter’s current 1:1 template, mapping panels and no-print zones, keeping key elements safe, and approving a production-ready proof and sample.
I treat the dieline as an engineering document. It connects the design, pouch structure, printing process, and finished product.
Where Should I Get the Pouch Dieline?
Starting from a guessed size or a competitor pack can put artwork on the wrong seals, folds, gussets, and finished panels.
I get the current dieline from the selected converter after the pouch format, dimensions, material, zipper, valve, and print route are known.
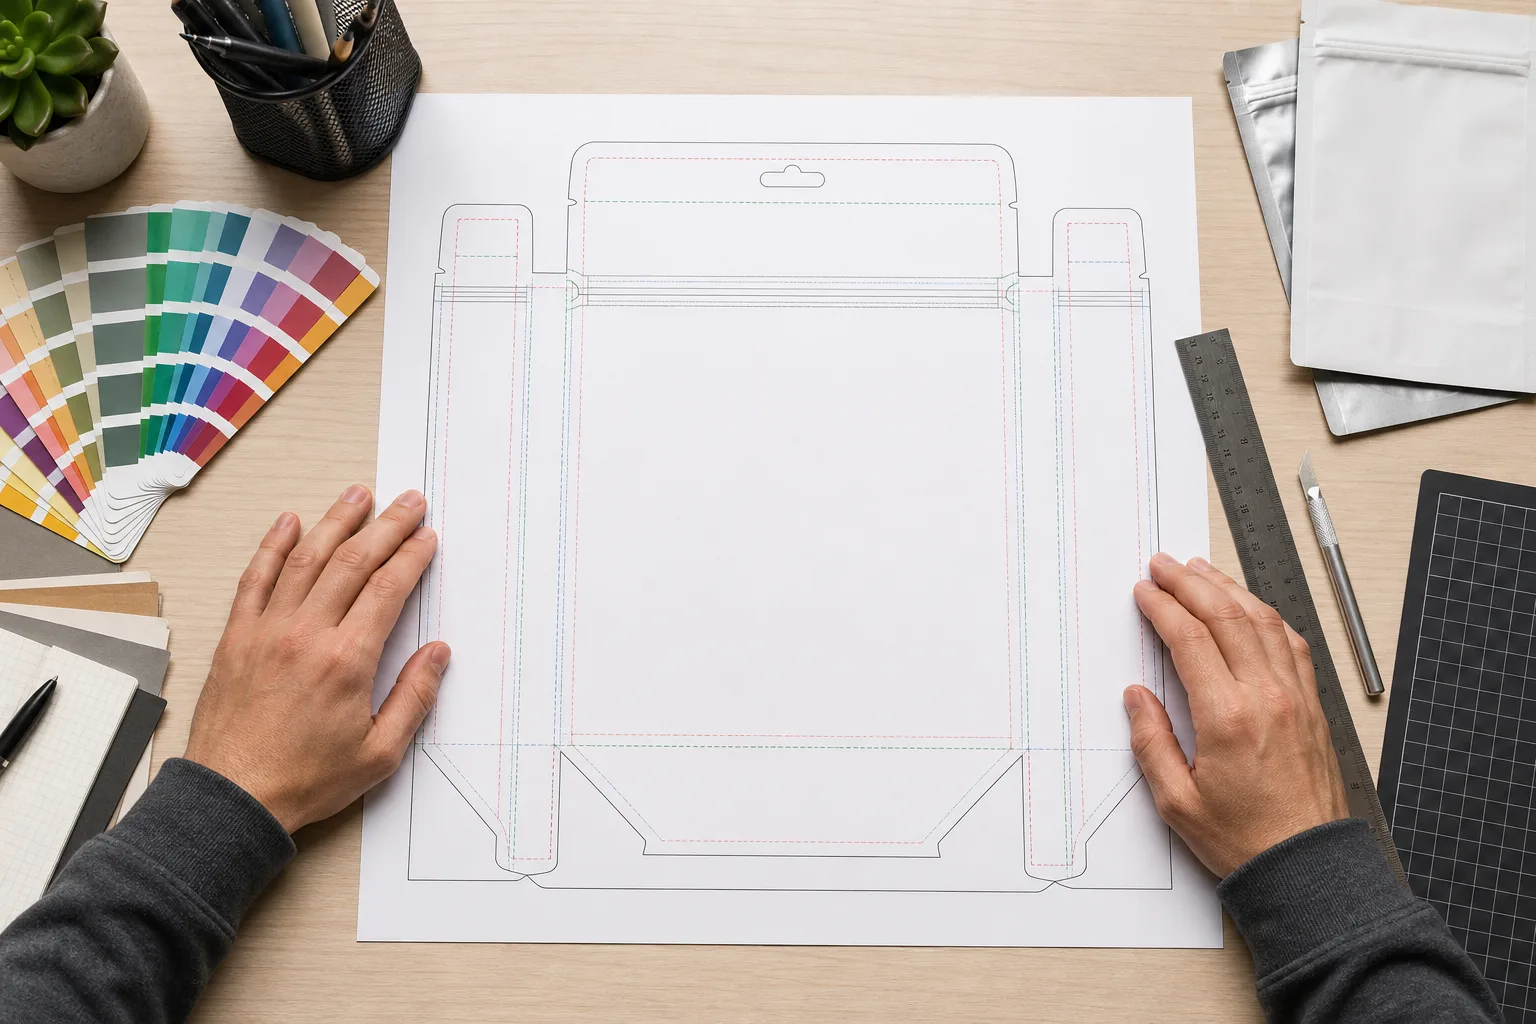
I do not create a pouch dieline from an online picture. The converter’s template reflects its actual sealing, folding, and converting process. It shows the finished dimensions and the zones where artwork cannot safely carry small text, barcodes, or precise graphics. The requested template should be 1:1, current for the chosen structure, and specific to the selected pouch style. A stand-up pouch, a flat-bottom bag, and a three-side-seal pouch do not use the same panel logic.
Packaging-prepress guidance from Esko describes the dieline as the physical structure that must align correctly with artwork, including bleed and safe-area requirements.1 That is why I lock the pouch dimensions, zipper, valve, hang hole, tear notch, and window before I hand the template to a designer. If any of those components moves, the template can no longer be treated as final.
I ask the converter to explain the map
I ask which panel is front, which is back, where the gussets fold, which areas become seals, where lot coding belongs, and what minimum safe margins apply. In a PackagingDesign discussion, a practitioner specifically advised requesting a 100%-scale dieline with bleed, safety, lot-code, glue, non-print, and barcode locations.2 It is useful community experience; the converter’s requirements still control the project.
I save the approved source file with the quotation and specification. I do not silently stretch it to fit a new size. If the product changes, I request a revised template and compare it against the prior version. That keeps the artwork aligned with the custom packaging service, the pouch format in the custom range, and the actual manufacturing route.
What Must Stay Inside the Safe Area?
Fine type, legal information, and key branding can disappear into seals or folds when the design treats every outlined edge as usable.
I keep essential text, barcodes, logos, nutrition panels, and fine graphics inside the converter’s safe area, while extending background art through the prescribed bleed.
I separate four things from the start: trim or cut lines, seals and folds, bleed, and the safe area. Background colors and images may extend into the bleed as the converter requests. Important type does not. I keep the product name, net quantity, mandatory information, and small icons away from the edges, zipper, valve, tear line, and gusset fold. A design can look balanced on a flat screen yet become hard to read on a filled pouch.
I also plan front, back, and side panels around how the pouch is held. The front carries the quickest buying cues. The back needs room for information and a barcode. Side gussets may look wide on the template but become curved or hidden after filling. I use a full-size paper fold or blank pouch sample to check reading order before I approve color. This is especially important for a flat-bottom bag, which has more panels but more seams and folds.
I design around movement
Esko’s prepress overview notes that bleed extends beyond a cut line to help prevent white edges and identifies barcodes and small text as critical print elements.3 I treat that as a production constraint, not as decoration. I avoid thin borders that must land perfectly on a pouch edge. I also avoid placing a critical color change exactly on a fold or seal transition. A printed sample is the right time to find these risks.
I make the artwork file clean. Dieline and technical notes stay on a separate non-printing layer according to converter instructions. I supply linked images at the requested resolution, preserve the requested color workflow, and package fonts or outline them only when the converter confirms that approach. The MOQ and total-cost guide helps explain why one correct prepress round costs less than a repeat print or late artwork correction.
How Should I Place the Barcode and Variable Data?
A barcode can be technically present but still fail when a pouch bends, the contrast is weak, or a seal and fold interrupt scanning.
I place barcode and variable-data zones on a stable, high-contrast panel away from seals, folds, zippers, windows, and heavy artwork, then verify the printed result.
I decide the barcode position with the pouch filled and held as it will be at retail. A large back panel can be a good starting point, but I check whether it curves when the pouch is full. I leave the required quiet zones clear. I avoid placing the symbol across a gusset, near a bottom fold, or where a matte varnish, metallic effect, or seam may reduce contrast. Lot code and best-before space also need a stable, accessible zone.
GS1 says that barcode placement should consider the packaging process and points to ISO methods for assessing printed barcode quality.4 I use this as a practical cue to involve the printer before artwork is final. Material, print method, symbol size, and the packaging surface can affect what scans reliably. I do not promise a scan rate from a screen preview. The flexible-pouch barcode guide carries this dieline decision into scanner environment, finish and filled-pack verification.
I proof the real print condition
| Item | Risk | Check |
|---|---|---|
| Barcode panel | Filled pouch curvature. | Scan on a filled sample. |
| Quiet zone | Artwork crowding the symbol. | Keep clear space in proof. |
| Lot code | Ink rub or unreadable placement. | Confirm code zone and contrast. |
| Finish | Glare or low contrast. | Test with the selected surface. |
I also review the barcode with the quality-control plan and ensure it sits with, not against, the visual hierarchy. A Reddit dieline discussion usefully recommends cutting and folding a small mock-up and checking details with the printer.5 That community advice fits my process: the final authority is the verified converter proof and the physical sample.
What Should I Approve Before Going to Press?
A PDF approval alone can miss incorrect panel orientation, color shifts, seal conflicts, and a pouch that looks different once filled.
Before press, I approve the final dieline, editable artwork, color and finish direction, copy, functional zones, barcode proof, and a full-size or filled production-style sample.
I run one final prepress checklist. The pouch size and structure must match the quotation. The template revision must match the selected format. All product information must be current. The barcode position, lot-code area, zipper, valve, notch, and window must be visible in the final file. I compare the artwork to the approved physical sample, not just to a previous digital mock-up. This is the last simple point to stop an expensive mismatch.
Next I check production details. I ask how color will be controlled, what proof is being approved, whether spot colors or white ink are needed, and how matte or gloss features align. FDA notes that packaging components can include adhesives and colorants as food-contact substances, so selected materials and intended use still need appropriate documentation.6 I keep factual food-contact questions separate from the design approval.
I approve a useful record
My approval record names the project, pouch size, structure, artwork revision, date, proof, color references, converter contacts, and every open condition. I save the final PDF, source artwork, dieline, and sample photos. If a design is revised after approval, I make the revision visible rather than relying on an email thread. This is especially helpful when a brand later reorders or switches print routes.
Finally, I inspect a filled sample under real conditions. I check front-panel balance, back-panel readability, top-seal clearance, barcode accessibility, and carton orientation. I link that outcome to the digital versus rotogravure guide because a process change can require another proof. A precise dieline workflow is not bureaucracy. It is how I protect the design and the production run at the same time.
Conclusion
I choose packaging through evidence, filled-pack testing, and clear specifications. That process protects the product, the launch, and the customer experience.
Sources and Further Reading
- Esko, guide to packaging prepress.
- Reddit r/PackagingDesign, dieline creation community discussion.
- Esko, packaging prepress overview.
- GS1, 10 steps to barcode a product.
- Reddit r/graphic_design, packaging dieline help community discussion.
- FDA food-contact packaging information.
- Unique Packaging quality control.
Need a pouch specification?
I can review your product, size, quantity, artwork, and target market.