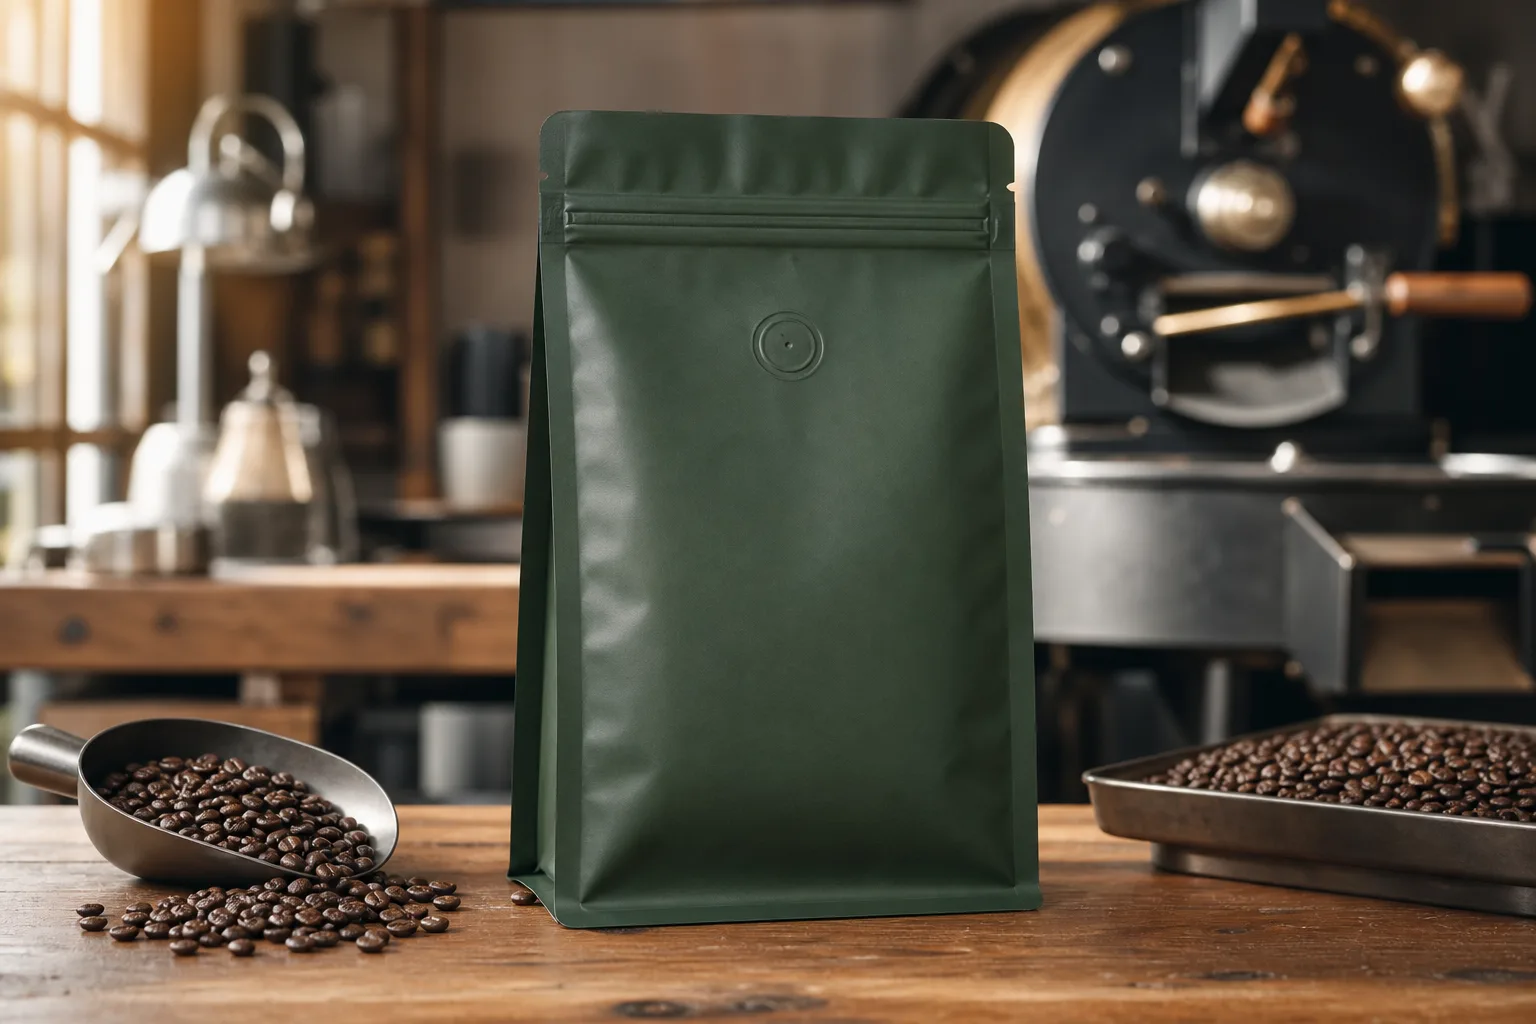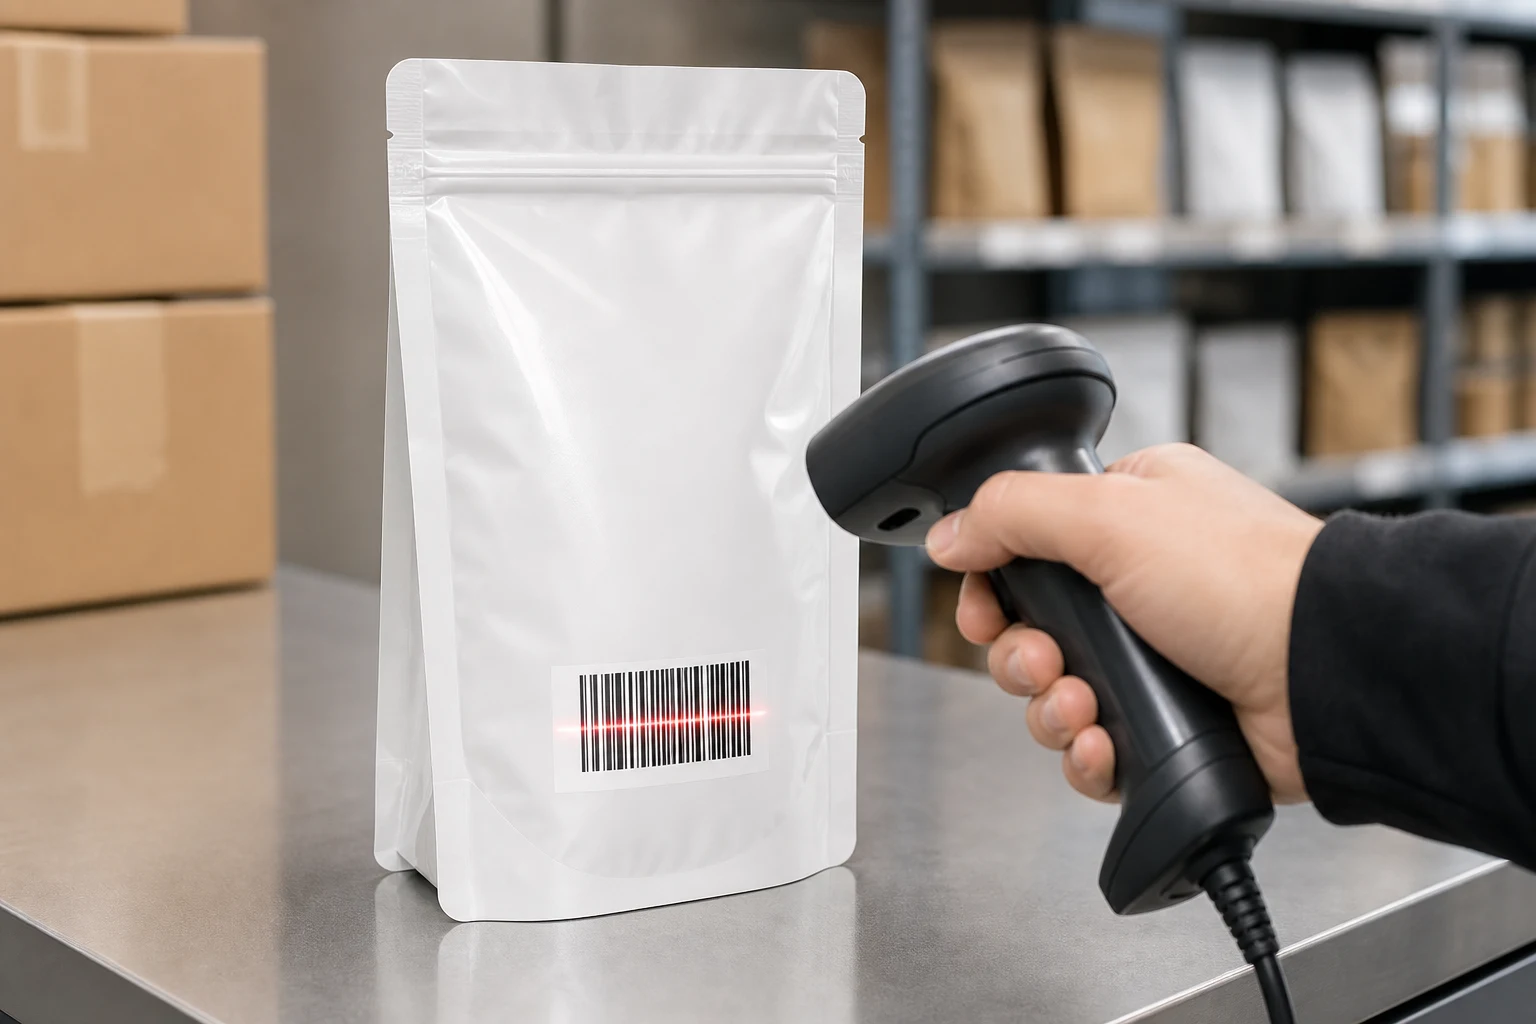
A barcode can be present and still fail when a pouch creases, glare hides the symbol, quiet zones disappear, or printing changes the bars.
I improve pouch barcode scanning by defining the scanning environment, reserving a stable high-contrast panel, protecting quiet zones, matching print direction, and verifying finished filled packs.
I treat the pouch as a complete system. I confirm the product, material, filling, handling, and customer experience before I approve production.
Which Barcode and Scanner Environment Am I Designing For?
A code selected for a label or warehouse can disappoint at retail when the project never defines who scans it, with which equipment, and when.
I first define the code type, encoded data, retail or logistics scanning environment, print method, and finished pouch orientation before I assign a symbol size or location.
For barcodes on flexible packaging, I ask whether the pouch will be scanned at a retail point of sale, in a warehouse, on a distribution line, or by a consumer phone. I keep the retail or logistics symbol separate from pouch packaging coding such as lot and date information, because the data owner, print method, location and verification record may differ. Those situations can require different symbol choices, sizes, quality controls, and access to the surface. GS1 notes that specifications for barcode type, size, placement, and quality depend on the primary scanning environment. I do not treat an artwork barcode as complete until the production and scanning context is stated.
How I make this decision specific
For “Which Barcode and Scanner Environment Am I Designing For?” in this how do i improve barcode scanning on flexible pouches review, I define the actual product, pouch configuration, intended use, and decision owner before I ask a supplier or tester for evidence. I keep the selected structure, component details, sample condition, and any stated test method together, then compare the result with the buyer’s actual route rather than a catalogue promise. That record lets me use the custom pouch dieline guide as a decision aid and retain a specification that another team member can check.
For How Do I Improve Barcode Scanning on Flexible Pouches, I state what is known, the condition it applies to, and what must still be checked with the actual product. I do not transfer a number, a test result, or a feature choice from another product simply because its pouch looks similar. The result of “Which Barcode and Scanner Environment Am I Designing For?” should give the buyer a clear next check, the supplier a precise request, and the project owner a record of the remaining uncertainty.
For How Do I Improve Barcode Scanning on Flexible Pouches, I request the exact pouch structure, component specification, and test conditions from the supplier. A broad material name or catalogue claim is not a production specification. The right next step is a representative filled sample, where relevant, with observations recorded before production is approved.
Where Should the Barcode Sit on a Flexible Pouch?
A barcode looks flat on a dieline, but a fold, seal, gusset, zipper, or packed product can turn its scan area into an unpredictable surface.
I place the barcode on a stable accessible panel, away from seals, folds, cut lines, curved areas, zipper zones, and artwork features that can invade its quiet zones.
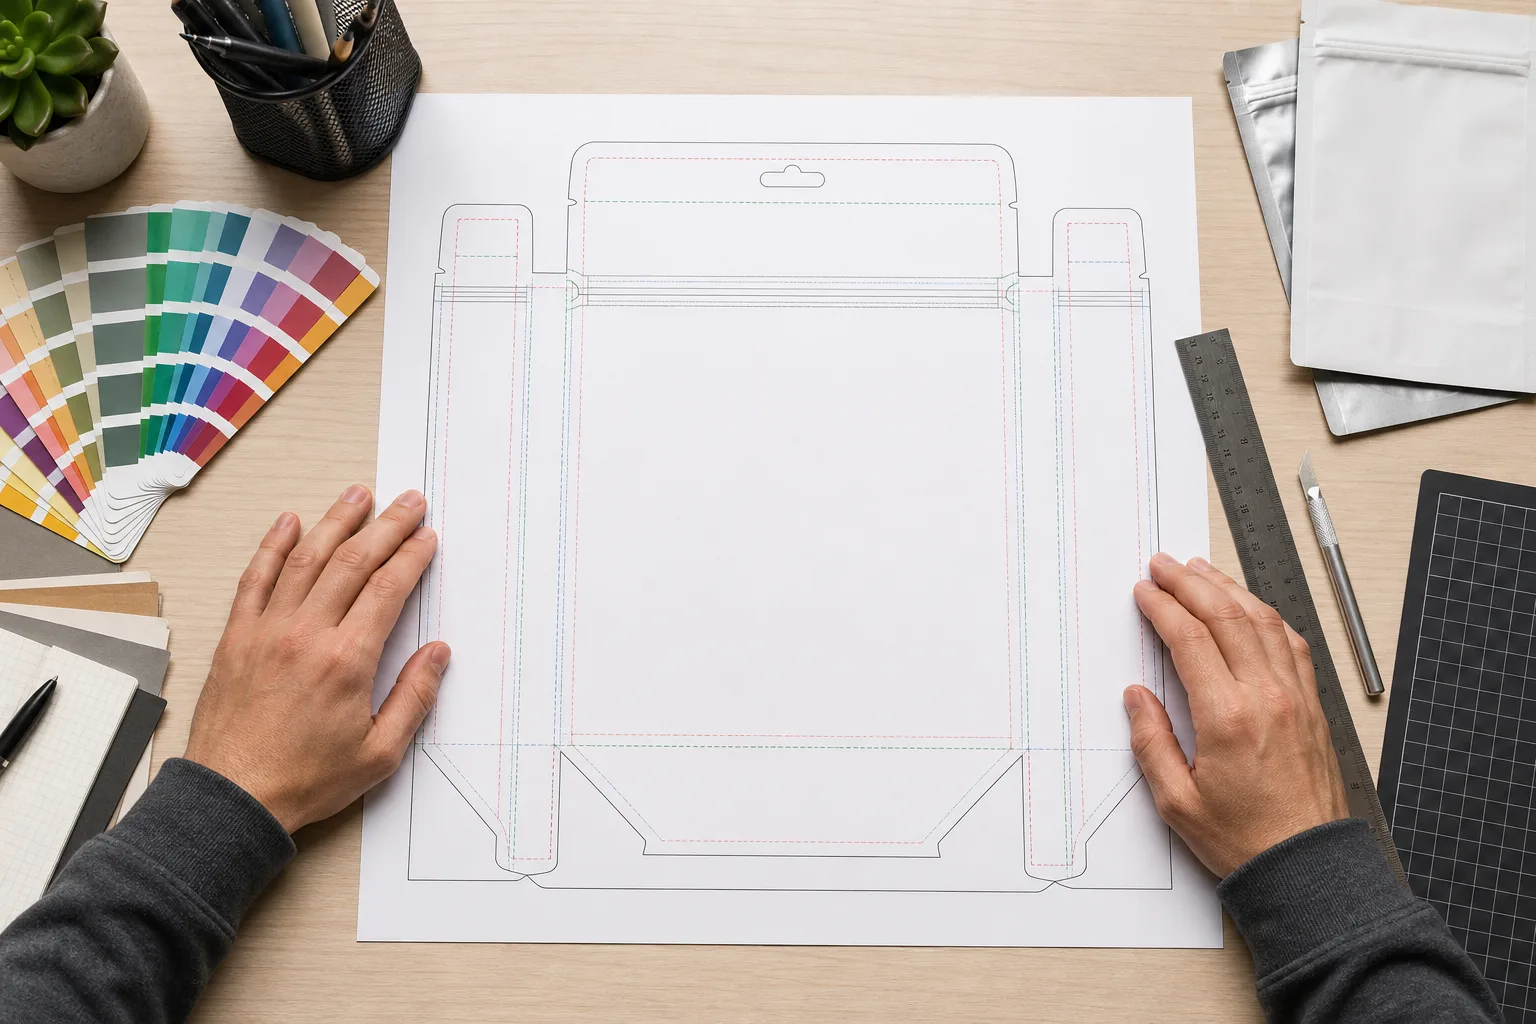
I request the current 1:1 dieline, then map the code alongside the seal zones, gussets, zipper, tear features, lot-code area, and panel movement. I inspect the location on a filled pouch because the printed panel can bow or wrinkle after the product settles. GS1’s 2D playbook specifically advises avoiding folds, seams, cut lines, highly reflective coatings, and highly curved surfaces where possible. I make the barcode area a functional zone, not leftover artwork space.
How I make this decision specific
| Location check | Why I check it | Evidence I keep |
|---|---|---|
| Filled panel | Product can create wrinkles. | Target-weight pouch photo. |
| Quiet zones | Graphics can crowd the symbol. | Approved artwork layer. |
| Seals and folds | They can obscure bars or modules. | Dieline review. |
| Scanner access | Retail and warehouse use differ. | Test scan record. |
For “Where Should the Barcode Sit on a Flexible Pouch?” in this how do i improve barcode scanning on flexible pouches review, I define the actual product, pouch configuration, intended use, and decision owner before I ask a supplier or tester for evidence. I keep the selected structure, component details, sample condition, and any stated test method together, then compare the result with the buyer’s actual route rather than a catalogue promise. That record lets me use the custom pouch dieline guide as a decision aid and retain a specification that another team member can check.
For How Do I Improve Barcode Scanning on Flexible Pouches, I state what is known, the condition it applies to, and what must still be checked with the actual product. I do not transfer a number, a test result, or a feature choice from another product simply because its pouch looks similar. The result of “Where Should the Barcode Sit on a Flexible Pouch?” should give the buyer a clear next check, the supplier a precise request, and the project owner a record of the remaining uncertainty.
How Do Finish, Contrast, and Printing Affect Readability?
A premium foil, gloss, matte, or dark design can change contrast and reflection enough that a code which looked clear on screen becomes unreliable.
I match symbol color, contrast, orientation, substrate, coating, print direction, and process capability to the finished pouch, then verify the code after all finishing steps.
I keep bars or modules and their background simple and high contrast, then consult the printer about the actual web direction, registration, ink behavior, varnish, and surface. I do not claim that gloss or matte is universally better: the correct choice is the one that passes on the final production surface under the relevant scanners and lighting. I review finish trade-offs in the matte, gloss and soft-touch guide. GS1’s guidance identifies contrast, quiet zones, symbol size, damaged print, and package wrapping as practical quality checks. I review the actual printed pouch, not a screen proof.
How I make this decision specific
For “How Do Finish, Contrast, and Printing Affect Readability?” in this how do i improve barcode scanning on flexible pouches review, I define the actual product, pouch configuration, intended use, and decision owner before I ask a supplier or tester for evidence. I keep the selected structure, component details, sample condition, and any stated test method together, then compare the result with the buyer’s actual route rather than a catalogue promise. That record lets me use the custom pouch dieline guide as a decision aid and retain a specification that another team member can check.
For How Do I Improve Barcode Scanning on Flexible Pouches, I state what is known, the condition it applies to, and what must still be checked with the actual product. I do not transfer a number, a test result, or a feature choice from another product simply because its pouch looks similar. The result of “How Do Finish, Contrast, and Printing Affect Readability?” should give the buyer a clear next check, the supplier a precise request, and the project owner a record of the remaining uncertainty.
For How Do I Improve Barcode Scanning on Flexible Pouches, I treat the filled pack as a separate check from the material data. I record the fill condition, seal area, opening or closure behavior, carton arrangement, handling observations, and limits of the comparison. That prevents a favourable bench result from becoming an unsupported claim about shelf life, transport, or every product route.
How Do I Verify Barcode Performance Before Release?
An occasional phone scan is useful, yet it cannot replace a repeatable check on real production material when thousands of pouches need to move through a route.
I validate data, measure print quality with the appropriate verifier where required, scan finished filled pouches in representative conditions, and retain the approved reference and test record.
I separate data correctness from print quality and from operational scan success. I confirm the encoded number before printing, then inspect the final pouch after filling, packing, and ordinary handling. GS1 describes ISO/IEC 15416 and ISO/IEC 15415 as methods used to assess linear and 2D barcode print quality. I use the applicable quality plan and the customer or market requirements; I do not invent a grade. I record the pouch structure, finish, code location, print run, verifier setting where used, scanners, observations, and acceptance decision. The release brief carries code type and data owner, primary scanner, final panel, size and quiet zones, print direction, finish, separate variable-code area, proof revision and verification record into the pouch specification. Once those inputs are available, I send them through the barcode and print assessment request for a dieline review, printed sample path and project-specific quotation.
How I make this decision specific
For “How Do I Verify Barcode Performance Before Release?” in this how do i improve barcode scanning on flexible pouches review, I define the actual product, pouch configuration, intended use, and decision owner before I ask a supplier or tester for evidence. I keep the selected structure, component details, sample condition, and any stated test method together, then compare the result with the buyer’s actual route rather than a catalogue promise. That record lets me use the custom pouch dieline guide as a decision aid and retain a specification that another team member can check.
For How Do I Improve Barcode Scanning on Flexible Pouches, I state what is known, the condition it applies to, and what must still be checked with the actual product. I do not transfer a number, a test result, or a feature choice from another product simply because its pouch looks similar. The result of “How Do I Verify Barcode Performance Before Release?” should give the buyer a clear next check, the supplier a precise request, and the project owner a record of the remaining uncertainty.
For How Do I Improve Barcode Scanning on Flexible Pouches, I preserve the final decision in a written brief that names the approved sample, conditions, observations, open risks, and change triggers. I then use the flexible packaging quality-tests guide to keep the quotation tied to the evidence rather than to a remembered sample or a generic product name.
Conclusion
I choose packaging through evidence, filled-pack testing, and clear specifications. That process protects the product, the launch, and the customer experience.
Sources and Further Reading
Need a pouch specification?
I can review your product, size, quantity, artwork, and target market.