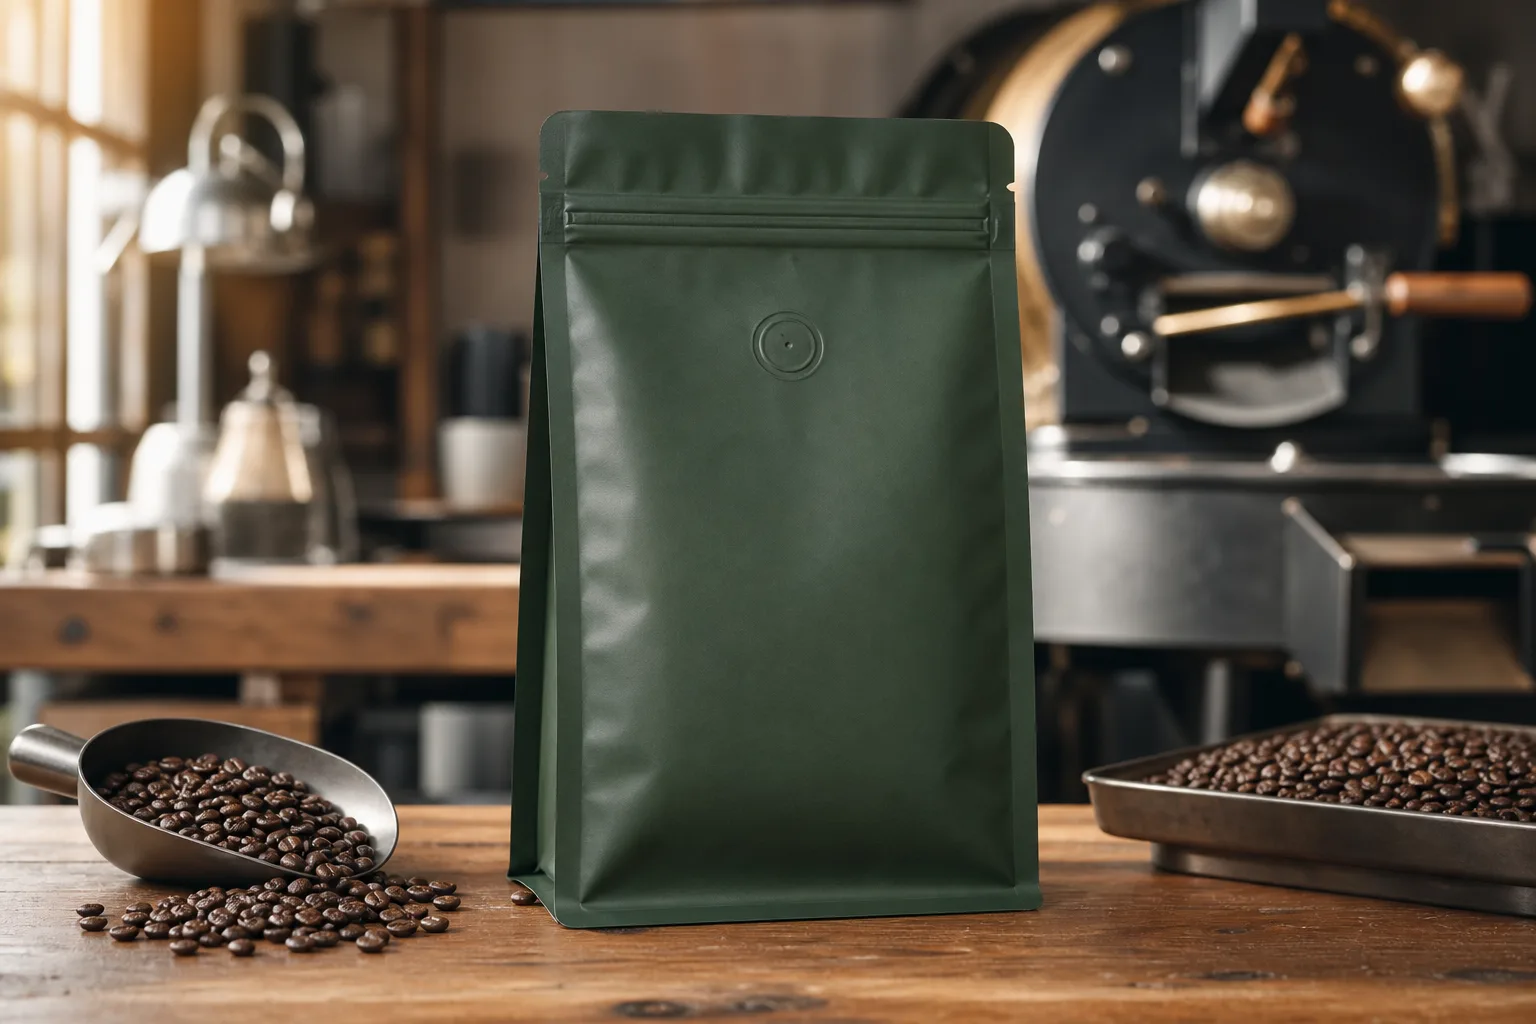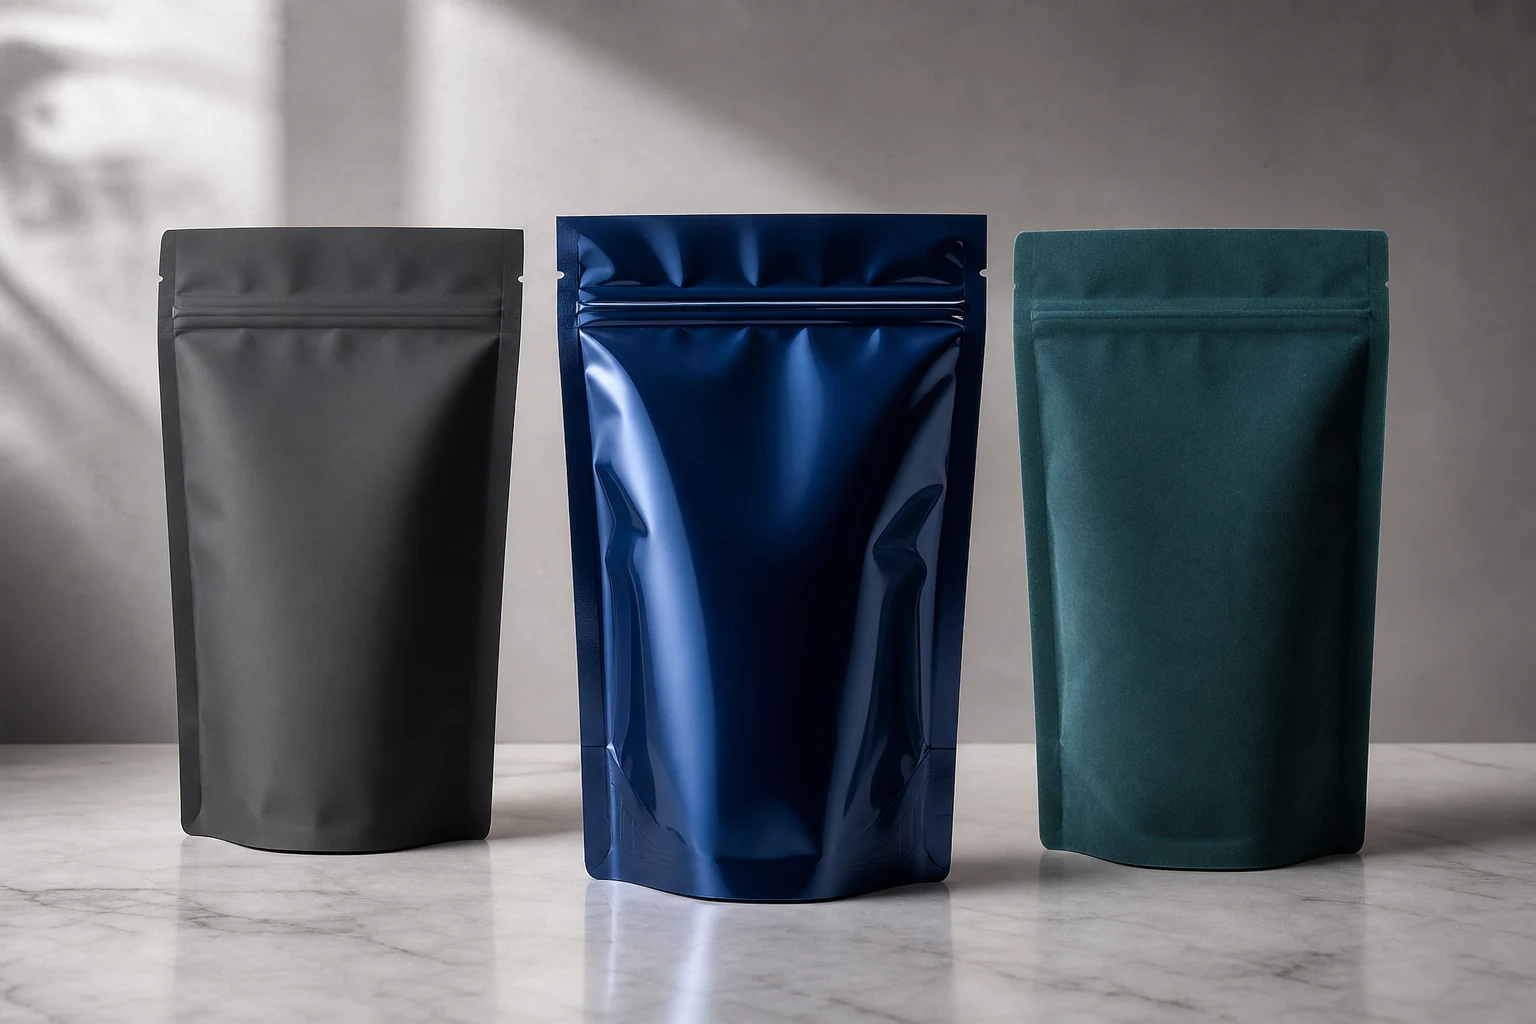
A pouch finish can make a brand feel deliberate, yet glare, scuffs, fingerprints, poor contrast, or an untested coating can undermine the buying moment.
I choose matte, gloss, or soft-touch after I define shelf lighting, artwork contrast, product handling, desired tactile cue, barcode area, rub risk, and a final filled-pouch sample.
I treat the pouch as a complete system. I confirm the product, material, filling, handling, and customer experience before I approve production.
What Should the Pouch Finish Accomplish?
Choosing a finish from a swatch can miss the actual job: being found on shelf, read under store lighting, held in use, and packed through distribution.
I start with the finish objective—visibility, color energy, a restrained premium look, a tactile cue, or practical durability—then assess it with the pouch format and product route.
I ask what a shopper must notice first and how the pouch is handled after purchase. A glossy finish can amplify color and light, while matte can make a layout feel quieter and help some designs reduce reflections. Soft-touch adds a tactile surface but must earn its added complexity through the customer experience and real handling performance. I do not select a finish to claim quality. I select it to support a specific visual and functional decision.
How I make this decision specific
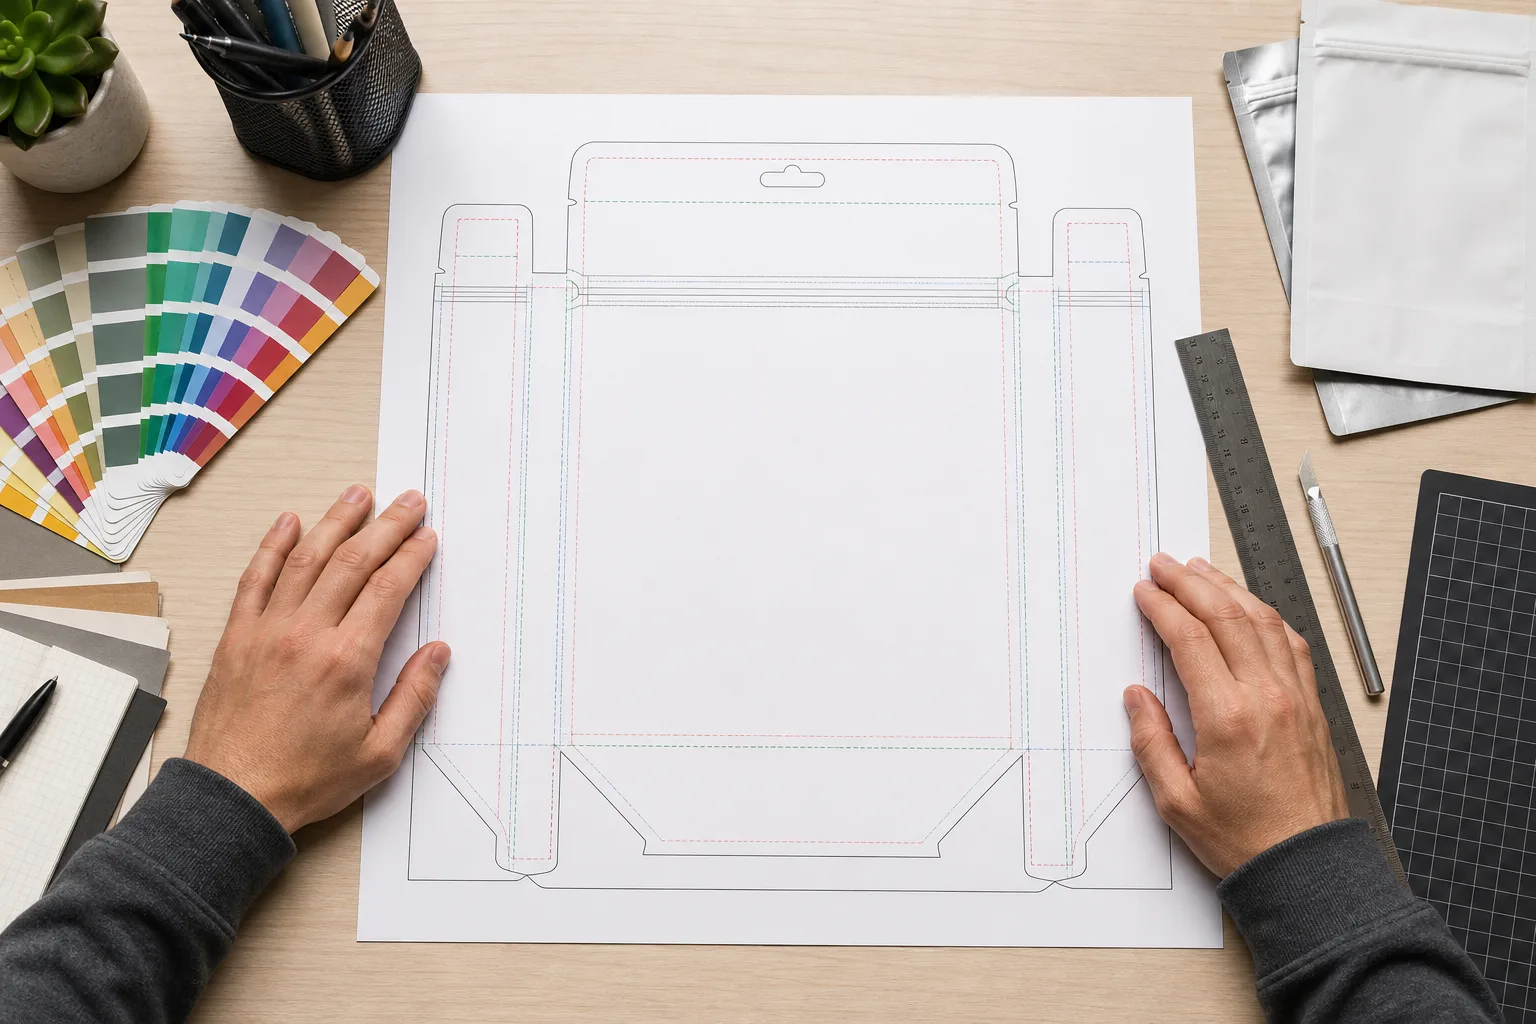
For “What Should the Pouch Finish Accomplish?” in this which matte, gloss, or soft-touch finish should i choose review, I define the actual product, pouch configuration, intended use, and decision owner before I ask a supplier or tester for evidence. I keep the selected structure, component details, sample condition, and any stated test method together, then compare the result with the buyer’s actual route rather than a catalogue promise. That record lets me use the custom pouch dieline guide as a decision aid and retain a specification that another team member can check.
For Which Matte, Gloss, or Soft-Touch Finish Should I Choose, I state what is known, the condition it applies to, and what must still be checked with the actual product. I do not transfer a number, a test result, or a feature choice from another product simply because its pouch looks similar. The result of “What Should the Pouch Finish Accomplish?” should give the buyer a clear next check, the supplier a precise request, and the project owner a record of the remaining uncertainty.
For Which Matte, Gloss, or Soft-Touch Finish Should I Choose, I request the exact pouch structure, component specification, and test conditions from the supplier. A broad material name or catalogue claim is not a production specification. The right next step is a representative filled sample, where relevant, with observations recorded before production is approved.
When Does Matte or Gloss Work Better on Shelf?
A beautiful pouch under studio light can disappear, glare, or make small copy difficult when it meets crowded shelves and strong retail lighting.
I compare matte and gloss on the final artwork under representative lighting, checking product name, color, nutrition or required copy, and the barcode rather than relying on a generic premium label.
I place production-style mock-ups beside competing packs and view them from normal shopping distance. I check how the product name, flavor, weight, mandatory copy, and barcode area remain readable. A high-reflective area may be useful for a bold visual accent, but it can also create a scanner or readability risk in the wrong position. I use a controlled comparison so the brand can choose the intended effect with evidence instead of copying a trend.
How I make this decision specific
For “When Does Matte or Gloss Work Better on Shelf?” in this which matte, gloss, or soft-touch finish should i choose review, I define the actual product, pouch configuration, intended use, and decision owner before I ask a supplier or tester for evidence. I keep the selected structure, component details, sample condition, and any stated test method together, then compare the result with the buyer’s actual route rather than a catalogue promise. That record lets me use the custom pouch dieline guide as a decision aid and retain a specification that another team member can check.
For Which Matte, Gloss, or Soft-Touch Finish Should I Choose, I state what is known, the condition it applies to, and what must still be checked with the actual product. I do not transfer a number, a test result, or a feature choice from another product simply because its pouch looks similar. The result of “When Does Matte or Gloss Work Better on Shelf?” should give the buyer a clear next check, the supplier a precise request, and the project owner a record of the remaining uncertainty.
What Does Soft-Touch Add and What Should I Test?
Soft-touch can create a memorable first hold, but a surface that soils, rubs, or conflicts with oil, filling, or transport can turn that promise into a complaint.
I use soft-touch only when its tactile benefit fits the product position and the chosen coating passes filled-pouch rub, scuff, fingerprint, carton, and barcode checks.
I test the finish after the pouch is printed, converted, filled, packed, and handled. I look for scuffing, edge wear, fingerprints, dirt pickup, changes near folds, and any impact on text or code contrast. Community experiences can reveal what users notice over time, but they do not prove coating chemistry or suitability. I use them as a prompt for a sample test with the actual pouch structure, product, and sales route.
How I make this decision specific
For “What Does Soft-Touch Add and What Should I Test?” in this which matte, gloss, or soft-touch finish should i choose review, I define the actual product, pouch configuration, intended use, and decision owner before I ask a supplier or tester for evidence. I keep the selected structure, component details, sample condition, and any stated test method together, then compare the result with the buyer’s actual route rather than a catalogue promise. That record lets me use the custom pouch dieline guide as a decision aid and retain a specification that another team member can check.
For Which Matte, Gloss, or Soft-Touch Finish Should I Choose, I state what is known, the condition it applies to, and what must still be checked with the actual product. I do not transfer a number, a test result, or a feature choice from another product simply because its pouch looks similar. The result of “What Does Soft-Touch Add and What Should I Test?” should give the buyer a clear next check, the supplier a precise request, and the project owner a record of the remaining uncertainty.
For Which Matte, Gloss, or Soft-Touch Finish Should I Choose, I treat the filled pack as a separate check from the material data. I record the fill condition, seal area, opening or closure behavior, carton arrangement, handling observations, and limits of the comparison. That prevents a favourable bench result from becoming an unsupported claim about shelf life, transport, or every product route.
How Do I Approve a Finish Before Production?
A finish choice becomes expensive when a team approves an empty presentation sample without documenting the material, artwork, barcode, handling test, and change path.
I approve a finish with a written specification, full-size printed and filled samples, shelf and scanner checks, rub observations, carton review, and a record of the exact coating and artwork zones.
I keep the approval practical. The record names the pouch structure, coating or varnish, print process, artwork version, no-coating or barcode zones, sample condition, and acceptance observations. I check the finished code in the final location because the coating and color combination can change scanning. If the supplier changes a coating, material, ink system, or pouch construction, I review the effect before release. That gives the buyer a clear reference rather than a memory of how an early sample looked.
How I make this decision specific
For “How Do I Approve a Finish Before Production?” in this which matte, gloss, or soft-touch finish should i choose review, I define the actual product, pouch configuration, intended use, and decision owner before I ask a supplier or tester for evidence. I keep the selected structure, component details, sample condition, and any stated test method together, then compare the result with the buyer’s actual route rather than a catalogue promise. That record lets me use the custom pouch dieline guide as a decision aid and retain a specification that another team member can check.
For Which Matte, Gloss, or Soft-Touch Finish Should I Choose, I state what is known, the condition it applies to, and what must still be checked with the actual product. I do not transfer a number, a test result, or a feature choice from another product simply because its pouch looks similar. The result of “How Do I Approve a Finish Before Production?” should give the buyer a clear next check, the supplier a precise request, and the project owner a record of the remaining uncertainty.
For Which Matte, Gloss, or Soft-Touch Finish Should I Choose, I preserve the final decision in a written brief that names the approved sample, conditions, observations, open risks, and change triggers. I then use the barcode placement guide to keep the quotation tied to the evidence rather than to a remembered sample or a generic product name.
Conclusion
I choose packaging through evidence, filled-pack testing, and clear specifications. That process protects the product, the launch, and the customer experience.
Sources and Further Reading
Need a pouch specification?
I can review your product, size, quantity, artwork, and target market.